How to Set Up and Calibrate Your New TV
Every TV ships with settings tuned for a showroom floor — punchy, oversaturated, and far too bright for a living room. Fifteen minutes of adjustments will make your new TV look dramatically better than the defaults. This guide walks through every setting that matters, from initial unboxing to picture calibration to audio setup, with specific instructions for Samsung, LG, Sony, TCL, and Hisense TVs.
Step 1: Physical Placement
Before turning the TV on, get the physical setup right. Bad placement creates problems no setting can fix.
Viewing Distance
The ideal viewing distance depends on screen size and resolution. For 4K TVs, the sweet spot is 1.5 to 2 times the diagonal screen size:
- 55-inch TV — Sit 6.5 to 9 feet from the screen
- 65-inch TV — Sit 8 to 10.5 feet from the screen
- 75-inch TV — Sit 9.5 to 12.5 feet from the screen
Closer than 1.5x and you start noticing pixels. Farther than 2.5x and you lose the immersive benefit of a large screen. Use our TV size guide for exact calculations.
Screen Height
Mount or position the TV so the center of the screen sits at your seated eye level. For most people on a standard sofa, this means the bottom edge of a 55-inch TV should be about 25 inches from the floor. Most TV stands position the screen too high. Most fireplace mounts position it far too high.
Above the fireplace is the worst TV location. Looking up 15-20 degrees for hours causes neck strain. If the fireplace is the only option, invest in a pull-down articulating mount that brings the TV to eye level when in use and pushes it back up when off. These cost more than standard mounts but eliminate the neck problem entirely.
Ambient Light
Take note of where light sources hit the screen at different times of day. Identify windows that create glare and consider curtains or repositioning. See our bright rooms guide for detailed glare management.
Step 2: Initial TV Setup
Power on the TV and work through the initial setup wizard. A few decisions here set the foundation.
Network Connection
Use Ethernet if your TV has a port and your router is nearby. Wired connections are more stable for 4K streaming and eliminate buffering from Wi-Fi congestion. If Wi-Fi is the only option, connect to the 5GHz band (not 2.4GHz) for better bandwidth.
Software Update
Before doing anything else, check for and install firmware updates. TVs often ship with months-old firmware. Updates fix bugs, add app support, and occasionally improve picture processing. Navigate to Settings, then System or Support, then Software Update.
Skip the Demo Content
Some TVs offer to set themselves in "Store" or "Demo" mode during initial setup. Always choose "Home" mode. Demo mode runs at maximum brightness with exaggerated processing designed for showroom displays.
Before calibrating picture settings, sign into your primary streaming apps (Netflix, Disney+, etc.). Some apps override TV picture settings with their own defaults. You want to calibrate after the apps are installed so you are calibrating what you actually watch.
Step 3: Picture Mode Selection
This single setting makes the biggest impact. Every TV ships in a mode designed to look bright in a store. Switching to the right mode immediately improves color accuracy, reduces eye strain, and delivers a picture closer to what the content creator intended.
The Right Mode for Each Use
- Movies and streaming — Use Cinema, Filmmaker Mode, or Movie. These modes target the D65 white point and Rec. 709/DCI-P3 color standards. Colors look natural instead of artificially boosted.
- Gaming — Use Game Mode. This disables image processing to minimize input lag. On TVs with ALLM, the switch happens automatically when a console is connected via HDMI 2.1.
- Sports — Use Cinema mode with motion smoothing set to low (not off). The slight smoothing helps with fast panning during football and soccer without creating the soap opera effect on other content.
- Daytime casual viewing — Use Standard mode. It is brighter than Cinema mode for rooms with ambient light but less aggressive than Vivid mode.
Brand-Specific Mode Names
- Samsung — Filmmaker Mode or Movie mode. Avoid Dynamic.
- LG — Filmmaker Mode or Cinema mode. Avoid Vivid. The LG 55" OLED C5 ships with a particularly accurate Cinema mode. See our review.
- Sony — Cinema or Custom. Sony TVs like the Sony 55" BRAVIA 3 are the most accurate out of the box. See our review.
- TCL — Movie mode. Avoid Vivid and Dynamic.
- Hisense — Filmmaker Mode or Theater Night. Avoid Vivid.
Step 4: Key Picture Adjustments
After selecting the right picture mode, fine-tune these settings. Each takes less than a minute.
Backlight / OLED Brightness
This controls the overall light output of the panel. Set it based on your room brightness:
- Dark room (evening, curtains closed) — 40-60%. Reduces eye strain.
- Moderate room (daytime with curtains) — 60-80%.
- Bright room (direct daylight) — 80-100%.
Brightness (Black Level)
Despite the name, this adjusts how dark the darkest parts of the image appear — not overall brightness. Set it so you can see shadow detail in dark scenes without the blacks looking gray. Most TVs ship with this correctly set. Adjust only if dark scenes look crushed (all dark areas are solid black with no detail).
Contrast
Controls how bright the brightest parts of the image appear. Set it high enough that whites look clean and bright, but not so high that bright areas lose detail (called "clipping"). Most Cinema/Filmmaker modes set this correctly. Reduce by 5-10% if bright scenes look blown out.
Sharpness
Set to 0 or the lowest setting for 4K content. Sharpness on modern TVs is edge enhancement — it adds artificial halos around objects that make the image look processed and unnatural. At 4K resolution, native pixel detail is sufficient. Only increase sharpness if watching low-resolution cable TV or DVD content.
Sharpness is the most counterintuitive setting. Turning it up does not reveal more detail — it adds artificial outlines that make the picture look worse. Set it to zero. The image will look softer for about 30 seconds while your eyes adjust, then it will look more natural and detailed than the artificially sharpened alternative.
Color Temperature
Set to Warm or Warm2. This may look yellowish at first if you have been watching a TV in Cool mode (which has a blue tint). Within an hour, your eyes adapt and Warm mode looks natural. Cool mode adds a blue cast that makes skin tones look unnatural and causes more eye fatigue during long viewing sessions.
Step 5: Turn Off Unnecessary Processing
Modern TVs ship with processing features enabled that sound helpful but degrade the picture for home viewing.
Motion Smoothing — Turn It Off
Called TruMotion (LG), Auto Motion Plus (Samsung), Motionflow (Sony), or MEMC (Hisense/TCL). This inserts fake frames between real frames. The result: movies shot at 24fps suddenly look like they were filmed on a phone camera. Turn it off for everything except live sports, where a low setting (2-3 out of 10) can reduce motion blur.
Noise Reduction — Turn It Off
Both "Digital Noise Reduction" and "MPEG Noise Reduction" add softening to the image. On 4K streaming content, there is minimal noise to reduce. Leaving these on just blurs the picture. Turn both to Off.
Eco Mode / Energy Saving — Turn It Off
Eco mode dynamically dims the backlight to save electricity. The result is an image that visibly fluctuates in brightness during scenes with mixed lighting. Turn it off for consistent picture quality. The electricity savings are negligible.
Dynamic Contrast — Set to Low or Off
Dynamic contrast adjusts the backlight in real-time based on scene content. On budget TVs without local dimming, it can help. On TVs with local dimming (Mini-LED, OLED), it adds nothing and can cause visible brightness pumping. Turn it off on any TV with local dimming zones.
Step 6: Audio Setup
TV speakers are a compromise. Even on premium TVs, the thin enclosure limits bass response and volume. Here is how to get the best from what you have — or when to add a soundbar.
Built-In Speaker Settings
- Sound mode — Use Standard or Cinema. Avoid "Surround" or "3D Sound" modes that artificially process the audio.
- Equalizer — Boost dialogue clarity by raising the frequency around 2-4 kHz slightly. Most TVs have a "Clear Voice" or "Dialogue Enhancement" option — enable it if voices sound muffled.
- Volume leveling — Enable "Auto Volume" or "Volume Leveling" to prevent commercials from blasting and dialogue from whispering.
When to Add a Soundbar
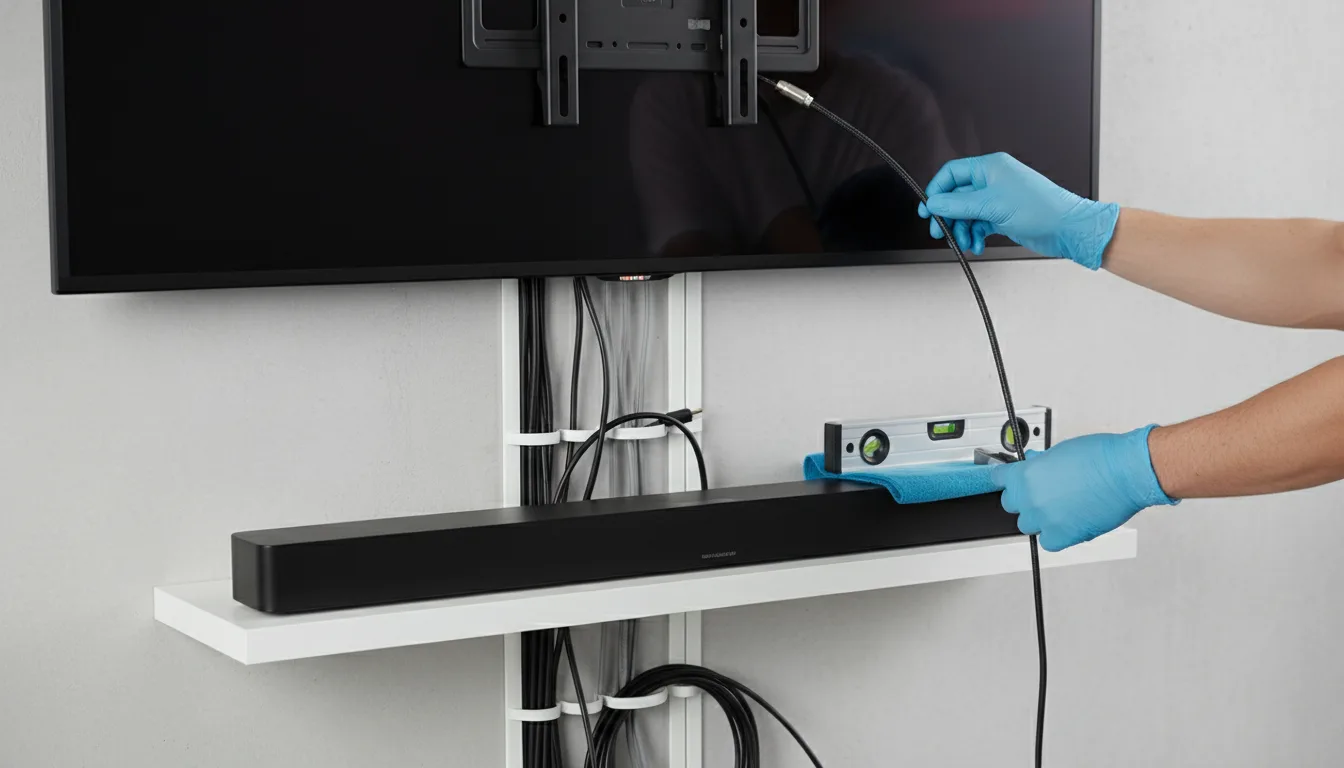
If you are spending more than a budget amount on the TV, allocate 15-25% of your total AV budget to a soundbar. The audio improvement is substantial. Connect via HDMI eARC (not optical) for lossless audio and Dolby Atmos passthrough. The Samsung 55" Q8F QLED ($500–$800) ships with 40W Object Tracking Sound+ — better than most built-in speakers, but still benefits from a dedicated soundbar for bass response. Read our review.
Step 7: HDMI and Device Setup
HDMI Port Assignment
Not all HDMI ports on a TV are equal. Assign your devices to the right ports:
- HDMI 2.1 port — Connect your PS5, Xbox Series X, or gaming PC here. This is the port with 4K/120Hz, VRR, and ALLM support. Check the manual for which port number supports HDMI 2.1.
- eARC port — Connect your soundbar here. This is typically HDMI 2 or 3 and supports lossless audio passthrough.
- Remaining ports — Streaming sticks, cable boxes, or Blu-ray players. These devices are fine on HDMI 2.0 ports.
Check your HDMI cables. 4K/120Hz requires "Ultra High Speed" HDMI cables rated for 48Gbps. The cables that came with your PS5 or Xbox are usually fine. Older cables may bottleneck at 4K/60Hz. If your console is connected but 4K/120Hz is not available in the settings, the cable is likely the problem.
Enable HDMI 2.1 Features
Some TVs ship with HDMI 2.1 features disabled by default. Enable them manually:
- Samsung — Settings, General, External Device Manager, Input Signal Plus — enable for HDMI 2.1 ports
- LG — Settings, General, Devices, HDMI Settings, HDMI Deep Color — enable for all ports
- Sony — Settings, Channels & Inputs, External Inputs, HDMI Signal Format — set to "Enhanced Format"
- TCL — The TCL 65" QM6K and other Google TV models keep HDMI 2.1 enabled by default. Read our review.
- Hisense — Settings, System, HDMI & CEC, HDMI Format — set to "Enhanced"
Step 8: Smart TV Privacy Settings
Every smart TV collects viewing data. The amount and how it is used varies by platform. Spend two minutes tightening privacy settings:
- Samsung — Disable "Viewing Information Services" and "Internet-based Advertising" in Settings, General, Privacy.
- LG — Disable "Live Plus" and "Viewing Information" in Settings, General, System, Additional Settings.
- Fire TV / Roku / Google TV — Disable personalized ads and device usage data collection in the respective privacy menus.
Quick Calibration Checklist
- Switch picture mode to Cinema / Filmmaker Mode
- Set color temperature to Warm
- Set sharpness to 0
- Turn off motion smoothing
- Turn off noise reduction (both digital and MPEG)
- Turn off eco mode / energy saving
- Adjust backlight to room brightness level
- Enable Game Mode or ALLM for gaming inputs
- Enable HDMI 2.1 enhanced signal mode on gaming ports
- Connect soundbar to eARC port
Frequently Asked Questions
What picture mode should I use on my new TV?
Should I turn off motion smoothing?
How long does TV calibration take?
Do I need to calibrate a new TV or is it fine out of the box?
What is the correct TV height for wall mounting?
Should I use HDMI eARC or optical for my soundbar?
How do I reduce input lag for gaming?
Get the Most From Your New TV
Fifteen minutes of setup turns a showroom-tuned TV into a properly calibrated home display. The adjustments above will make any TV look better — from a budget-friendly entry-level set to an OLED flagship. For more detail on choosing the right TV in the first place, see our complete buying guide or browse all our guides.
Need help picking the TV first?
Our buying guide covers every decision from panel tech to screen size.
Read TV Buying GuideReady to Buy? Start Here
Based on this guide, our #1 recommendation:
Samsung 65" Q7F Great starting point — balanced picture with a calibration-friendly Tizen interface Read Full Review →Can't Decide? Compare Side by Side
Get Our Top 3 Picks
Get our top 3 picks for your budget — one email, then only updates.
Only when something changes. Unsubscribe anytime.